With spring in full swing I can’t stop thinking about all the home projects I want to start working on. There’s cleaning out the closets, clearing out the patio, getting rid of toys. The list goes on and on. I’m sure many of you can relate. Aside from our regular daily to-do list, we also have our personal list of things we wish to happen. For me, I’ve been longing to accomplish tasks that are both necessary and fun to do. Because let’s face it, there are some things on our lists that we enjoy doing, and some we wish we could hire others to do.
Inspiration
The past few weeks have been pretty exciting as family and friends came together to plan my sister’s bridal shower. She’s getting hitched this June and the festivities leading up to the big day are coming and going quickly. Which leads me to my current addiction: chalkboard spray paint!
In preparation for my sister’s bridal shower I purchased two wood panels, cork board and chalkboard spray paint to create this beautiful and affordable backdrop for the buffet. I loved this idea because I’ll be able to use the materials again for future events.
After spray painting the two wood panels I had a little bit of paint left over. I’d been wanting to update my kid’s almost 6 year old IKEA Latt table for quite some time now. I tell you, I almost got rid of that thing so many times. It’s a good thing I didn’t because I had just enough chalkboard spray paint to cover the table top.
DIY Chalkboard Table Details
Inspiration is great, having all the materials to complete a project, well that’s another thing. Luckily I had all the materials I needed on hand. And if you’re family is into making crafts and painting I’m sure you will too. To be honest with you, if I didn’t have everything on hand, this project would have been put back on the back burner!
Without further adieu, here’s how we gave our old table a new look on a Saturday morning in between breakfast, showers, and chaos!
Materials
- New or used table
- Chalkboard paint – I used Rust-Oleum found at Walmart for under $4
- Painter’s tape – from our tool box
- Acrylic paint – from the art supply box
- Paint brushes – also from the art supply box
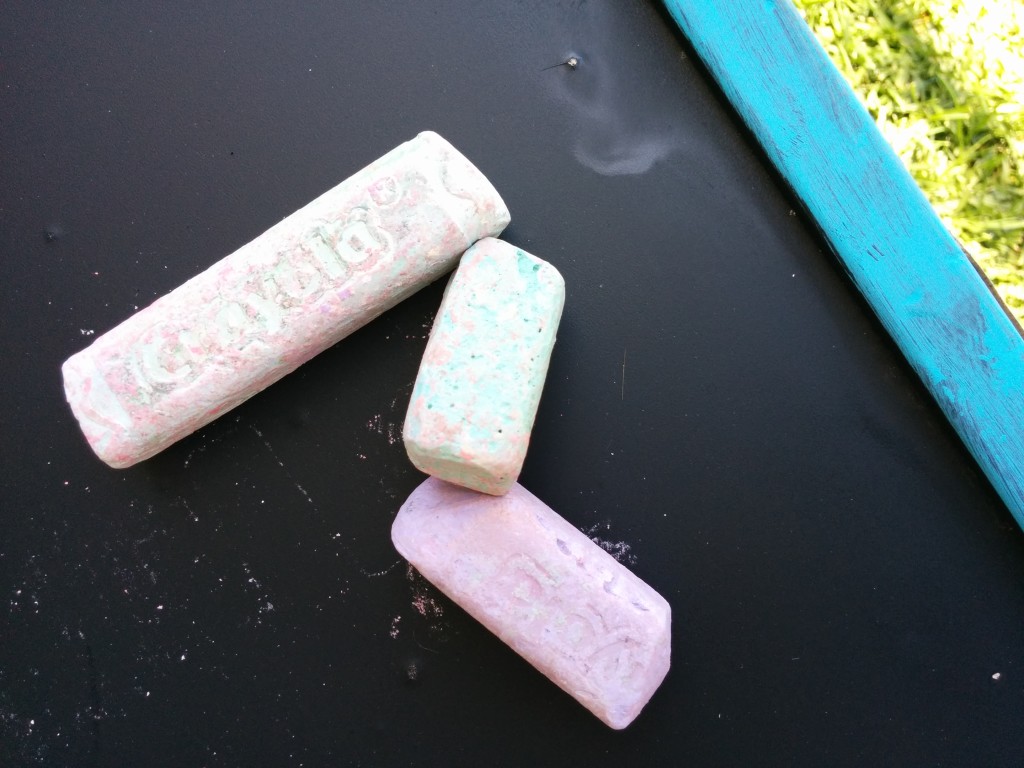
- Chalk – for all the fun you’ll have when the table is ready – found it lying around the house
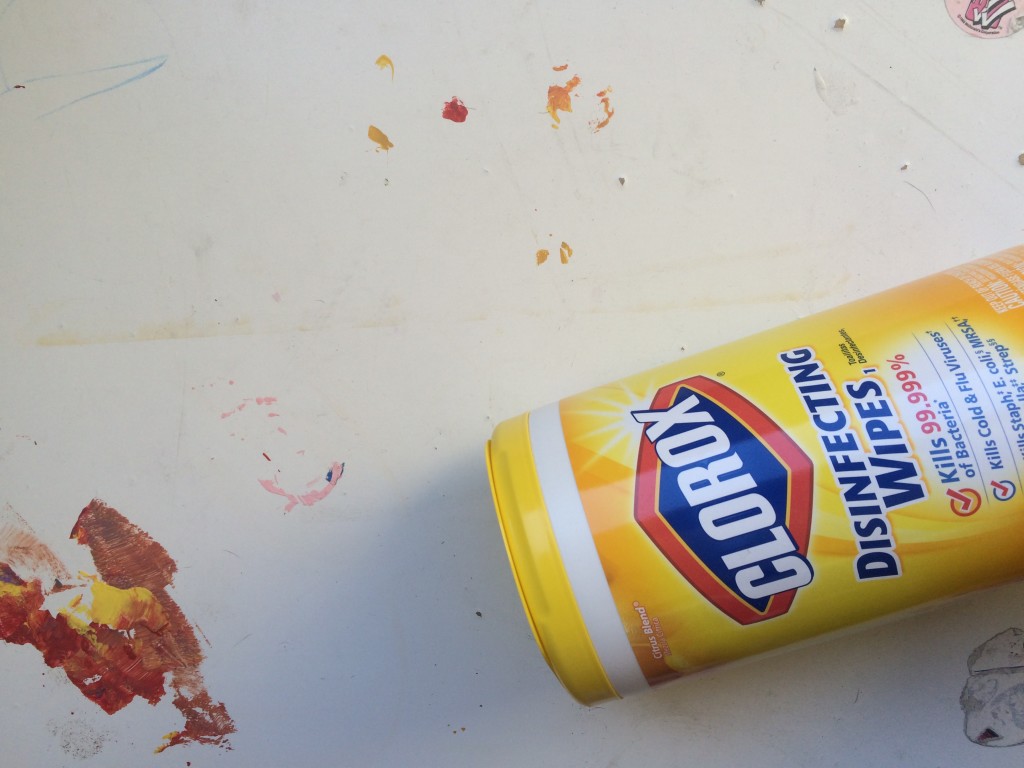
First, you’ll need to gather all your materials and wipe your table down with a wet rag, Clorox or baby wipe. Again, I can’t stress this enough, use whatever you have to get the job done or it just ain’t gonna happen! Make sure you take off any stickers or traces of old paint, dirt, etc. If you have primer or sand paper – use it! This is the one thing I wish I had done. But it’s okay. Moving on.
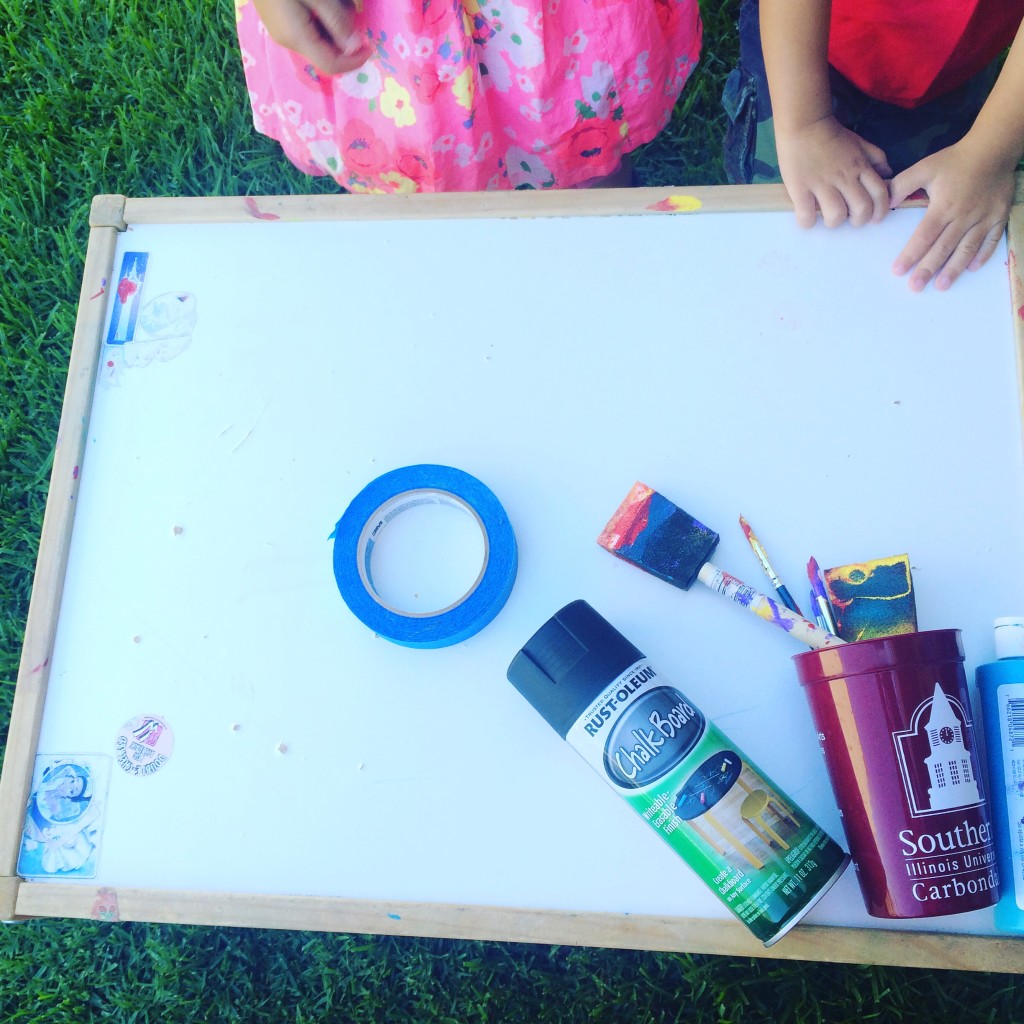
Next, assuming you’re already in an open area, preferably outdoors so the paint fumes don’t kill you or your floors, pop open that chalkboard paint and spray away! I didn’t have a particular technique to this, but found that if you spray in short strides you’ll get the most coverage.
Let the paint dry for about 20 minutes in the sun. We let it sit for about an hour while we got ready to tackle our busy Saturday.
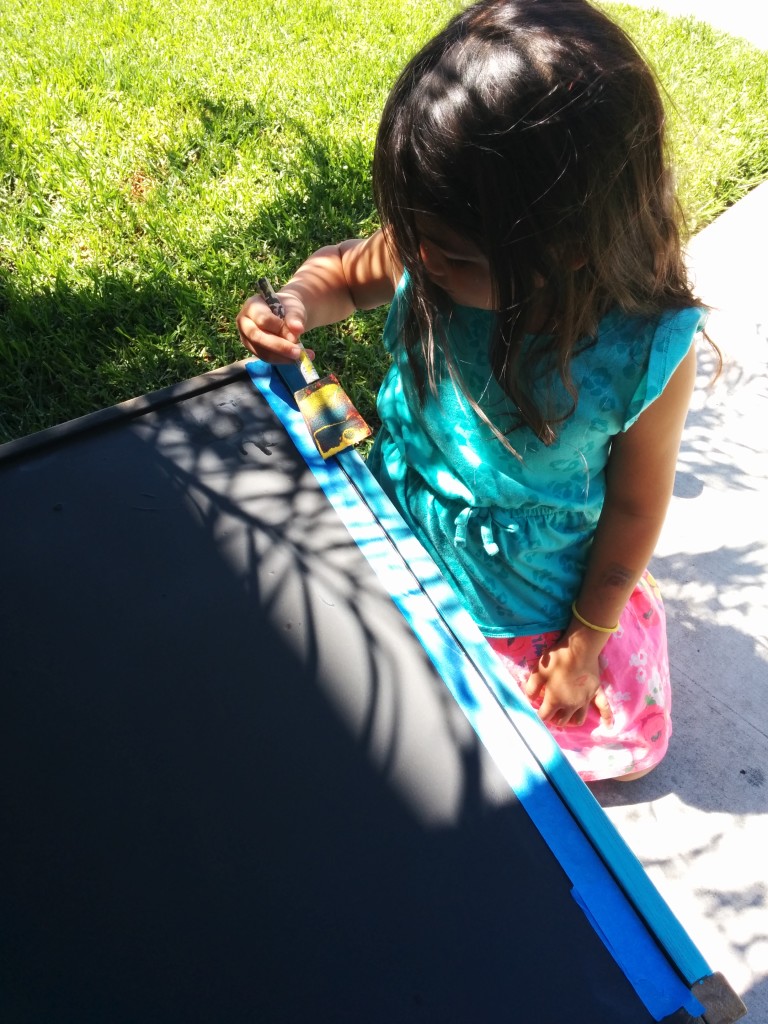
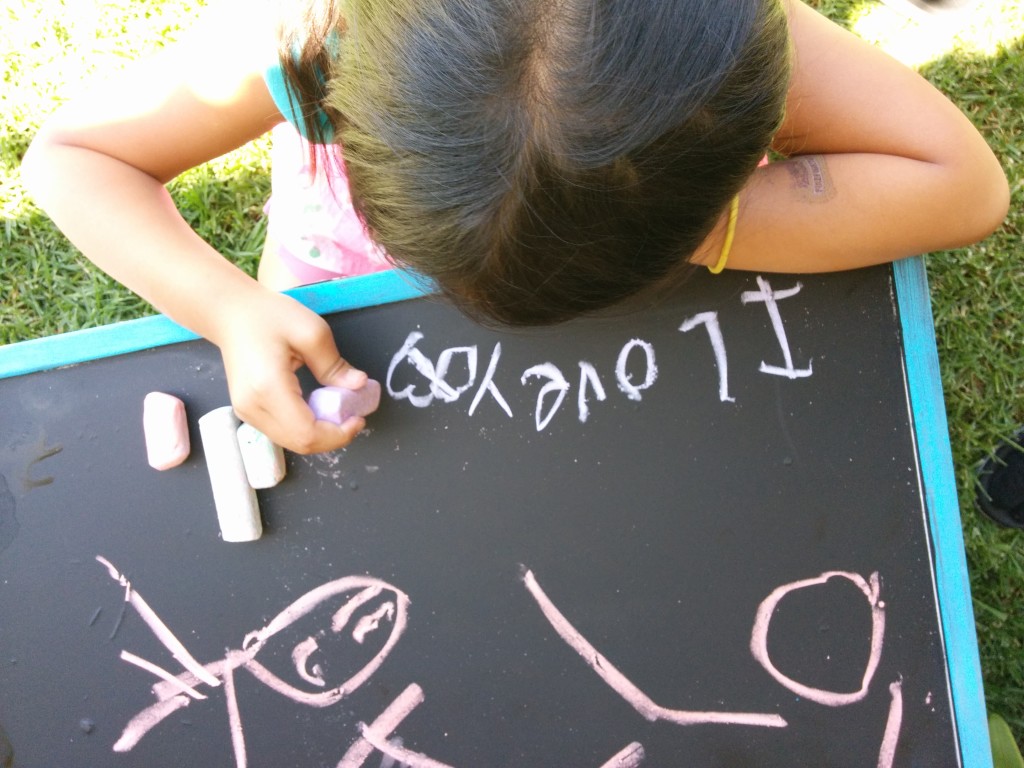
After the chalkboard spray paint dries line the inner edges of the table with painters tape so you don’t get any paint onto the surface. Now is the chance for the kids to jump in. That is if you’re not too worried about the table being perfect. I decided to throw my hands up and surrender. I had to stop myself from stopping them get paint everywhere, but it was worth it. They had a great time painting. At least Pinky did.
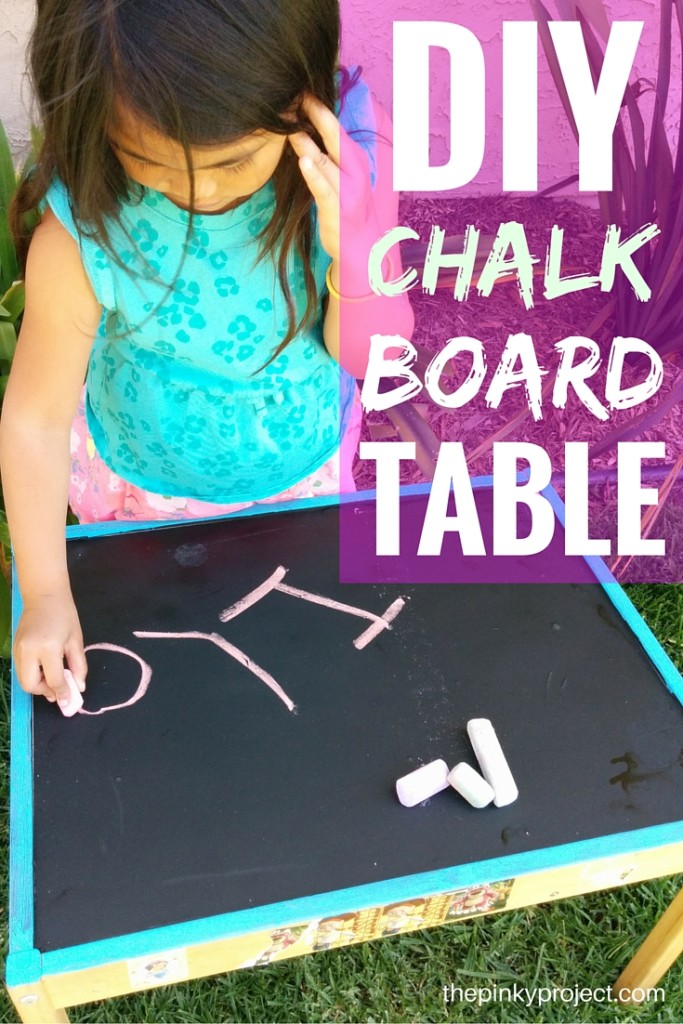
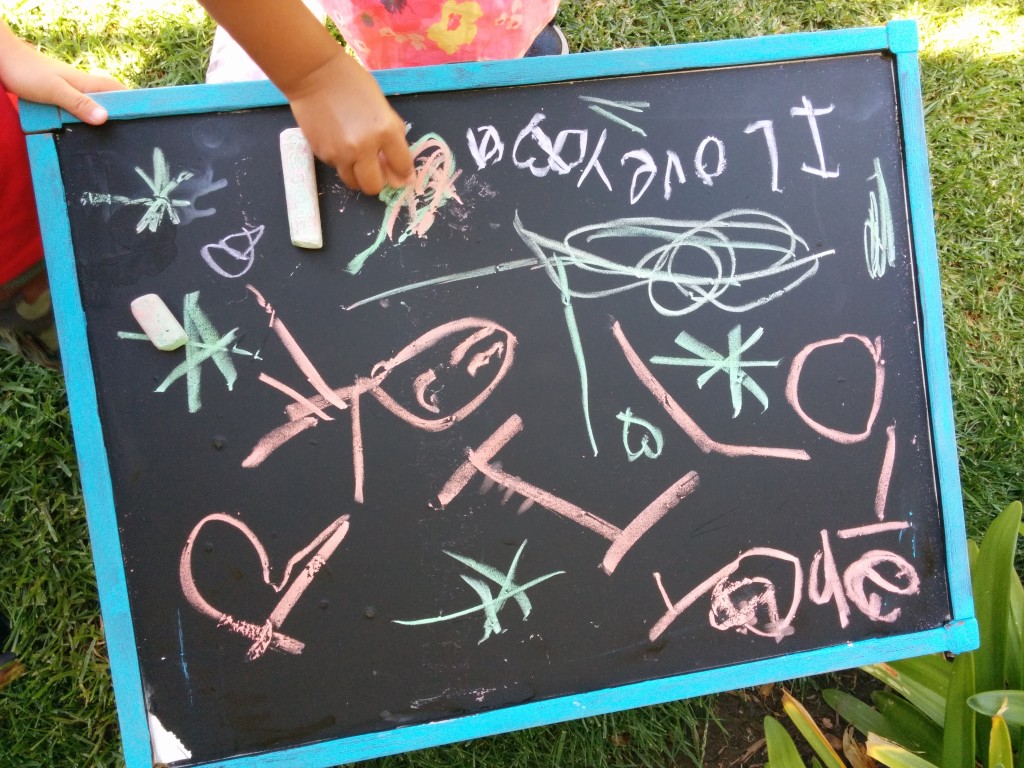
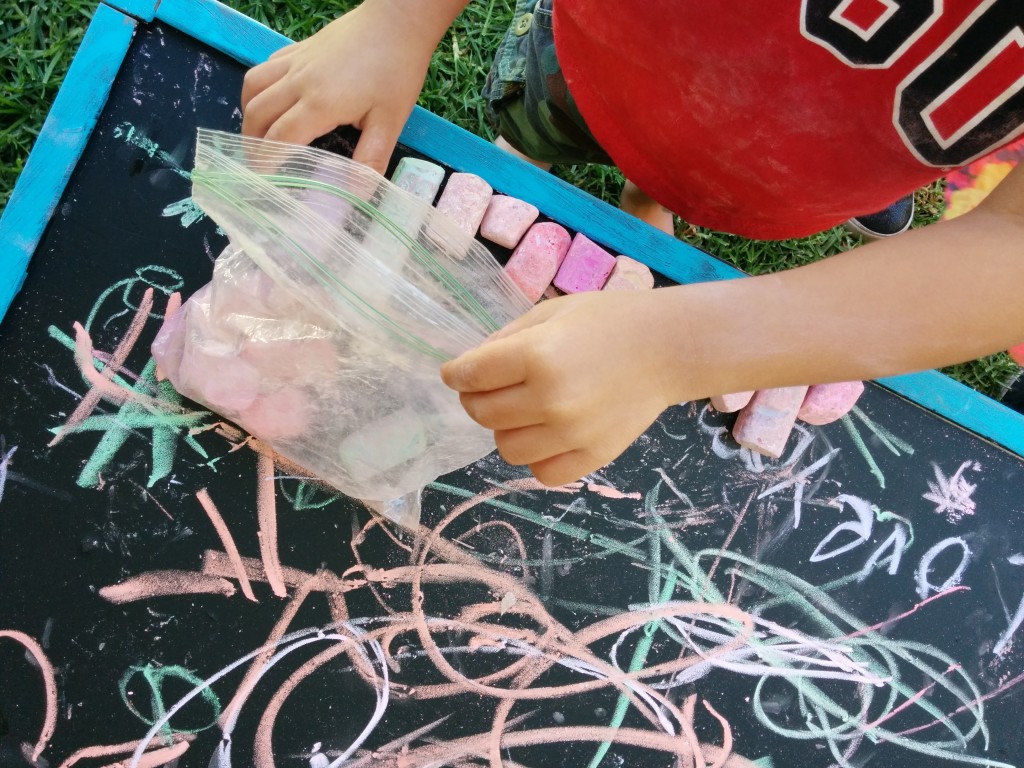
And that’s it. You can get as fancy or as casual as you’d like with this project because you know the kids are going to rough it up anyway! I was very impressed at how quickly we completed this project and how fast we were able to use it after we were done. The colorful chalk looks so beautiful on the black chalkboard paint.
Helpful Hints
Since this was my first time working with chalkboard paint I learned a few things that might help you if you want to do this too.
- As I mentioned above do your best to clean off the surface you’re going to paint. Bust out that paint primer or sand down imperfections like bumps and scratches.
- Use only real chalk. We tried to use a chalk pen with the wood panels but it didn’t quite work. If you do use a chalk pen, try to spray the the surface with water first. I haven’t tried it, but those were the instructions on the pens we got from the dollar section at Target.
- When your kids are ready for a clean slate make sure you wipe the surface down with water. A baby wipe or a wet napkin will do. You’ll have to do this a few times, but don’t get frustrated when you realize it won’t go back to the same nice, clean black surface you started out with.
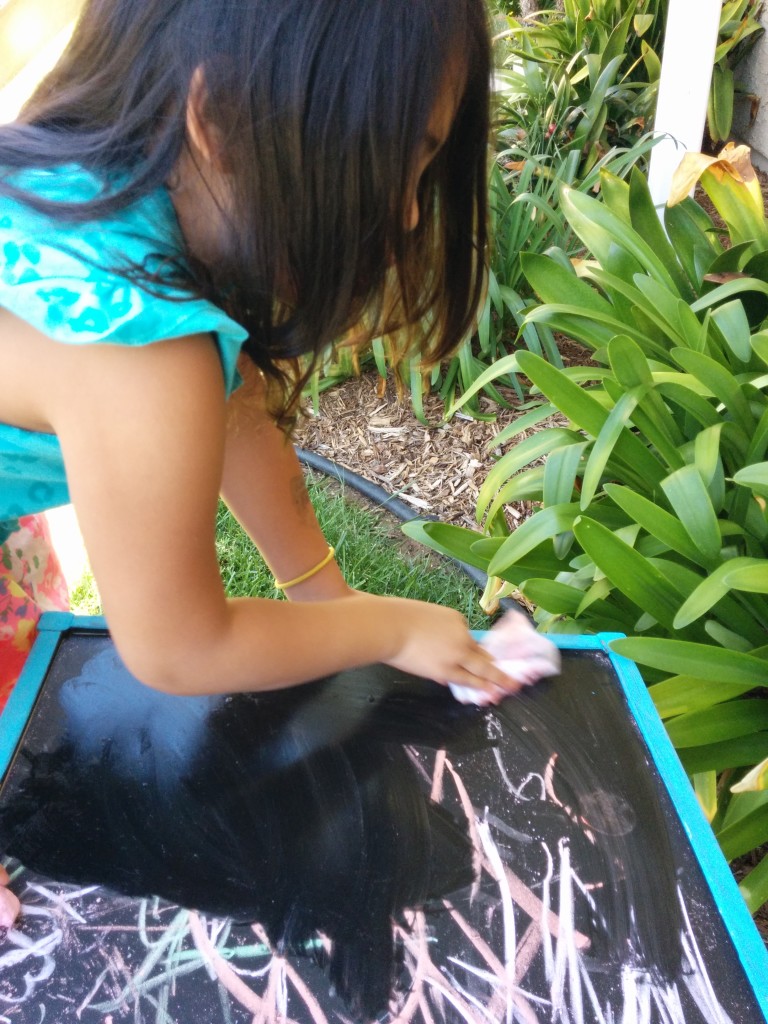
There you have it. A simple DIY chalkboard table project you can do with your family.
Have you done any projects using chalkboard paint? Leave a comment and share your tips with us. We’d love to hear from you!

Found your post on Twitter. Looks like a fairly simple project to do once you have all the materials you want. I love this idea though. I know my niece and nephew would really enjoy it. Thanks for all the tips.
-Lauren
ShootingStarsMag recently posted..Dirty by Kylie Scott Release Day Blitz
I love the chalkboard table idea! It is so cute and fun! We have the same table and might just have to add this to our project list.
BriGeeski recently posted..Don’t Forget About You, Moms
I LOVE this!! I did something similar with a picture frame for decoration, but my kids would love to have a chalkboard table just for themselves. Pinning this!
Thanks for stopping by, and for Pinning, Sara. I would love to do more chalkboard paint projects. I’m curious what you did with the picture frame.
I’m glad you enjoyed this post, Bri! It was so much fun. Share some photos if you decide to spray your table with chalkboard paint!
Hi Lauren! I’m glad you found us through Twitter. Thanks for stopping by. This would definitely be a fun project to do with your niece and nephew. I’d love to see your finished product if you decide to do this project. Thanks again.